Posted on 6 Comments

And Now, a Thirty-Day Challenge

Collage of the 30 Paintings in 30 Days artwork

Artist and art marketing guru Leslie Saeta periodically offers a 30-day challenge, to paint 30 paintings in 30 days. Since I managed to complete Mary Gilkerson’s Five-Day Challenge, I thought I’d give this one a whirl. Eventually, there should be 30 paintings on this blog post, and I will also post to Instagram at @JoanVienotArt and to Facebook at Joan Vienot Art. The 30-day challenge will start February 1, 2018 and will run through the first couple days in March.


The 30-Day Challenge is now complete, and I am happy to say that I managed to paint every day! It’s not so hard, if it is a priority. Granted, many of them are small, just 6×6, but I made each one of them count as a learning experience. At the same time, I had scheduled 5 workshops during this 30 days, so it indeed was a period of learning. Probably the most difficult part of it was posting to my blog and to social media — that took a minimum of 30 minutes each day, and if I wasn’t careful, I could find myself stuck on social media for another couple of hours, catching up on friends’ activities and generally being entertained by the mishmash of news and minutia one finds on Facebook. Below are my 30 paintings.

Continue reading And Now, a Thirty-Day Challenge
Posted on Leave a comment

Back-to-the-Basics Drawing Course

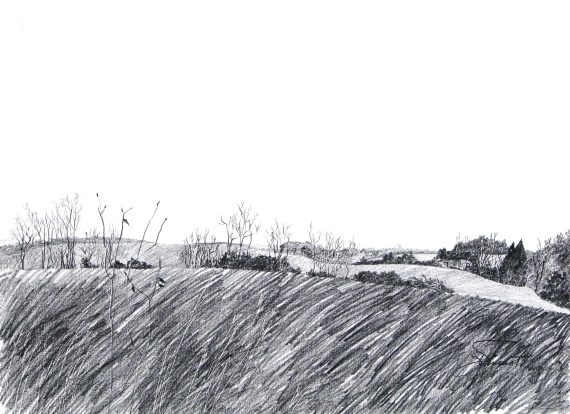
Hollington Farmland


In February, 2013, I will be offering a “Back to the Basics” Drawing Course at the Bayou Arts Center, in Santa Rosa Beach, FL, for the Cultural Arts Alliance.  The course will be four two-hour classes, on Tuesdays from 1:00 to 3:00pm.  We will practice line quality, “seeing” shape and drawing what we see, and creating textures.  We will practice drawing as preliminary to other art, as well as drawing as the final masterpiece, and we will experiment with several kinds of media.

An otherwise fabulous work of art can be ruined by poor perspective.  So in the first of the four two-hour classes, we will review one-point and two-point perspective, which are useful tools for making representational objects look “right” in our attempt to create the illusion of 3 dimensions on a two-dimensional surface.  Knowledge of perspective will assist us in seeing correctly.

Above is a drawing I made several years ago, showing the weeds near to the viewer to be much larger, relative to the trees and the structures further back in the picture plane.  As objects recede, they should be drawn smaller and there is an orderly way to go about that, which is the tool called perspective.

Below I have posted a simple sketch showing some perspective problems.  You immediately get a sense that there’s something wrong with this picture, and you may or may not notice what it is exactly that bothers you, but you will recognize it and agree that the house on the right looks crooked, and the telephone poles seem too tall as they go over the horizon, and the fence underneath them doesn’t seem right, and the tractor looks too small.


Back-to-the Basics Drawing Course

Register at (850) 622-5970.  The fee is $100 for CAA members, slightly more for non-members.  Below is the suggested supply list.

  • Ebony pencils — jet black, extra smooth (Prismacolor) or similar very soft, black graphite pencil (6B or 8B)
  • A water-soluble pencil, i.e., Derwent Sketching pencil – dark wash, 8B,  or Derwent Graphtint pencil – nice colors are steel blue(06), port (01), shadow blue (05)

  • A water-soluble pen, dark (Vis-a-Vis, or Flair) — blue, black, or brown
  • A white eraser (White Pearl)
  • 12″ ruler — 18″ is even better
  • Watercolor brushes — nothing fancy, anything will do, but if you have one, a #4 rigger/liner/script and #6 pointed round
  • Small water container (Dixie cup is fine)
  • Soft cotton rag for smudging
  • Old sketchbook for note-sketches and for practicing at home
  • Assortment of papers — white, cream, mid-tone, and colors, different textures, nothing terribly expensive, but better than newsprint,whatever you have on hand, and perhaps some watercolor paper or illustration board, 12 x 18 or larger
  • Plus anything else you might want to draw with or on
  • You may want a to bring your drawing board and table easel or stand-up easel, but we can work on the tabletops.
  • Optional supplies the instructor will bring for you to experiment with:
  • Charcoal pencil, paper-wrapped — soft or extra soft (Berol)
  • Woodless pencil, 6B (Grafstone), or graphite sticks
  • Cretacolor Woodless watercolor pencils (Aqua Monolith)
  • Nupastel, white, and some dark colors
  • Stabilo Aquarelle Black 8046 or Red 8040 or Brown 8045
  • Practice paper (cheap, not colorfast):   Smooth newsprint, Textured newsprint, Gray bogus paper

The instructor gets supplies from www.dickblick.com, and standard delivery is usually about 10 days.  But please do not spend a fortune — let’s use the supplies you already have!

Posted on Leave a comment

Oil Painting with Jan Bennicoff

Jan Bennicoff, Demonstrating

Yesterday I attended Jan Bennicoff‘s oil painting workshop at the City Arts Cooperative in Panama City, Florida.  The day before, I packed up my supplies from the list she had distributed, which I have been gathering over the past 6 months or so in preparation for my plan to start plein air painting.  I had signed up for this introductory workshop as a review, since the last serious oil painting I did was in college, dare I tell my age, almost 40 years ago.  I loaded a couple of small canvases, 11×14, my brushes, my new lightweight easel and palette, paper towels, and some containers.  The solvent, medium and the paints, were provided at the workshop for a mere $5.00 supplies fee.  The workshop was free to members of Panama City Artists.

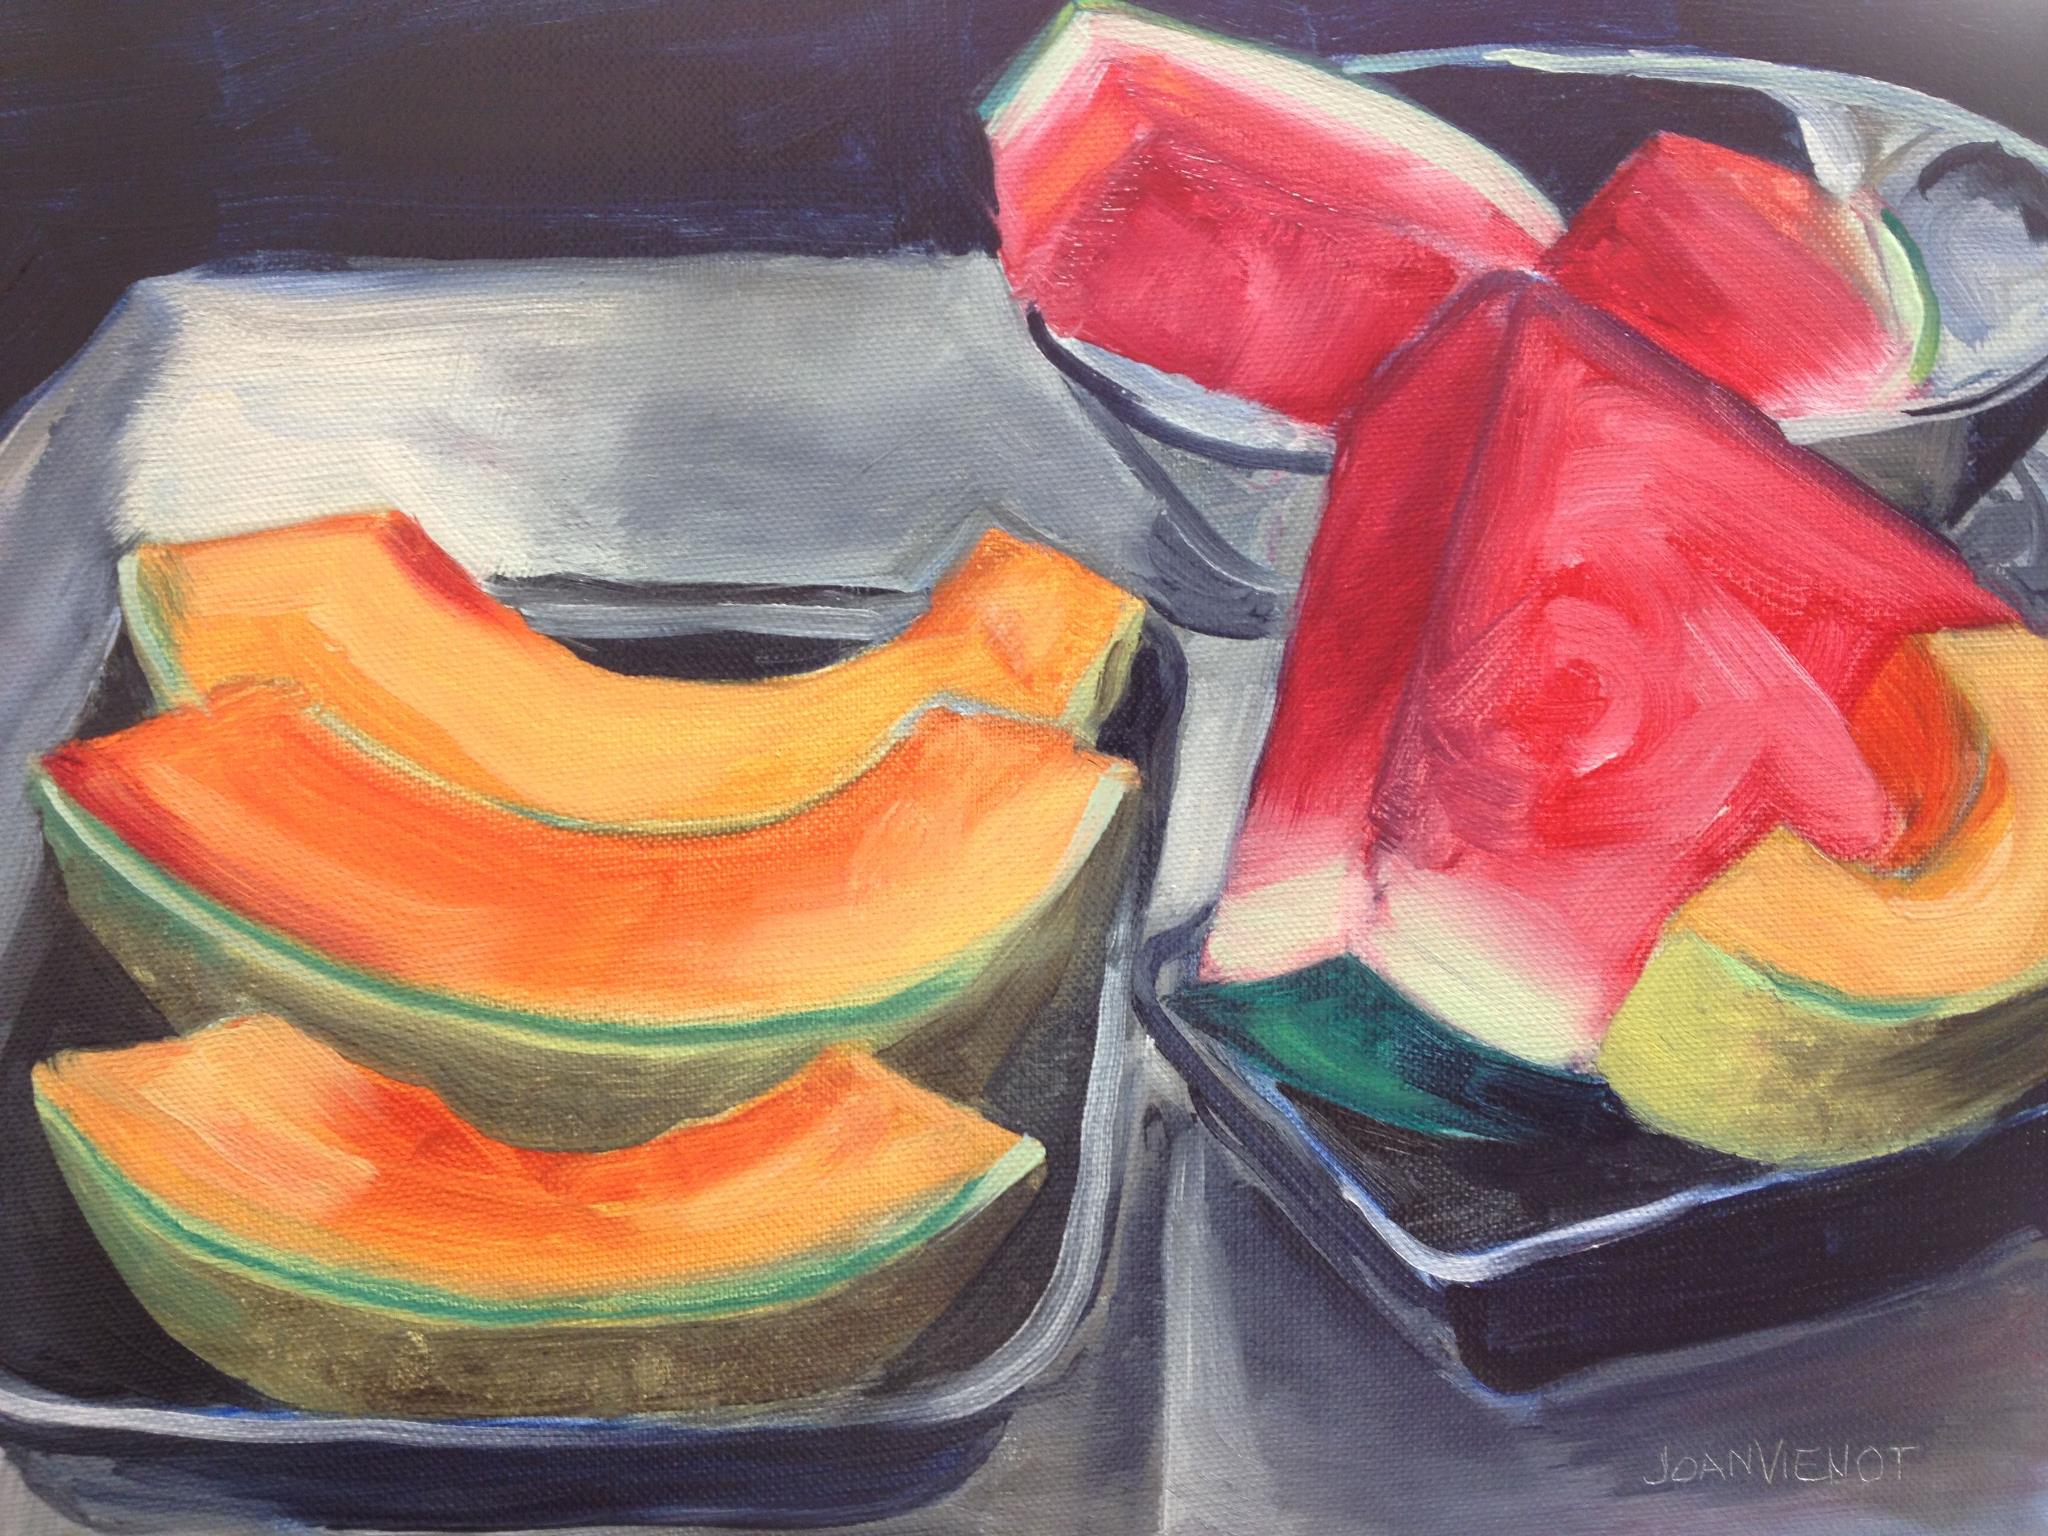
Jan set up a still life of melons, and she began her demonstration by making a line drawing of the subject using a brush and a dark color, red in this case. She instructed us to then paint from dark to light, that is, to paint the dark colors throughout the entire painting first, covering all of the canvas, and afterwards painting the lighter values.  She helped us to see the different colors, shapes, and values in the subject from our individual viewpoints, and gave tips on how to execute them, and how to mix the colors.

While painting, I found that I need to buy a few better brushes.  Some of the brushes I have that are the perfect size for how I want to use them, are a little stiff in the bristles, so that putting another color on top of an area of wet paint results in the bristles scratching off the other color.

I didn’t have too much trouble drawing the subject onto the canvas, even though I haven’t practiced contour line drawing in a while.  I’ve been practicing figure drawing, focusing on light/shadow, and defined vs. lost edges, rather than all contours.  I worried about the composition from my viewpoint, which was nearly split in half, with only a small area of a tray overlapping the right hand masses with the masses on the left.  Jan helped me see the shadows and highlights that would also help tie the two halves together, and I repeated some of the watermelon reds in the orange pieces of cantaloupe, and added some oranges into the red watermelons, to also help tie the two together.  To make the colors brighter, I heightened the background contrast, deepening the blue-brown until it almost became black.  I liked the end result, especially considering I completed it in just a little over 2 hours.

I have always been of the opinion that things are more interesting when a little is left to the imagination.  I know that my tendency is to try to be exact with my art, but the painting style I want to develop will be a little looser, exact only when absolutely necessary to define an essential element.  This will require me to assume that my audience can “read” the painting without me describing every little detail, a leap of faith on my part.

Most of my images are available for purchase.  Contact me if you are interested. — Joan Vienot

Posted on Leave a comment

Encaustic Workshop at Studio b. with Rae Broyles

I ventured into new territory today, taking a workshop on encaustic painting at Studio b.  The closest I had come to encaustic painting was when I was a child, melting crayons and drizzling the molten wax onto paper.  I don’t remember very much about my childhood experience, but I’m sure that what I loved most about it was playing with the candle.  Today we traded the candle for a blowtorch, which was infinitely more exciting!

First we used a paintbrush to put hot bees’ wax  onto the board to make a background, applying multiple layers, scraping each layer smooth.  Then we added pigment to the wax and brushed  colors on, building up textures, carving into the wax, cutting and scratching into it, stenciling, stamping, embossing, adding collage, and even writing  into the wax to create powerful, colorful 12″ x 12″ encaustic paintings.

Instructor Rae Broyles demonstrated many different ways to work the wax, and then she worked alongside us on a painting of her own.  We were surrounded by some of Rae’s recent work on the walls at Studio b.

With every medium, there is a craftsmanship that must be mastered before one can be freely expressive, but we all had a lot of fun trying, and we were all pretty successful, I think.  Part of it of course was Rae’s excellent instruction, but part too was her relaxed, and even playful, attitude.  After all, creativity often is playfulness.

I pressed a plant into the soft wax and then filled the embossing with colors, layering additional cover layers, so that some parts are in sharp focus and others appear to be further away.  I tried to put a fish in it, and he disappeared, and I decided I didn’t have enough control to put a small scuba diver in the background, which was my other idea for an underwater scene.   So it ended up being a picture of some kind of flowering plant.

For my second piece I wanted to experiment with a figure, and I used the general pose that we had at figure drawing last week, dividing the background with simple geometric shapes.  I tried making lines with a hot drawing tool, but that didn’t work very well, so I carved lines using a clay sculpting tool, and then filled the lines in with black wax, scraping off the excess.

Will I do more encaustic work?  Maybe so.  It’s fun, it forces me to accept looser, less-controlled expression, and all I would need to buy, that I don’t already have,  is an electric flat grill-pan to heat the wax in aluminum bread-tins.  (Oh, and I would need that neat trigger starter for the blowtorch, that was pretty cool.)