Posted on Leave a comment

Figure Drawing with a Live Model

To a figure drawing artist, the title of this post is redundant, but the non-artist may not know that we use live models in figure drawing.  To this point, I have been a bit of a fanatic about it, allowing errors and inaccuracies to be a part of the final drawing.

But I am thinking that I would like to take a photograph for reference for correcting and finishing a live-model drawing outside of the studio, away from the live model.  My hesitancy to use a camera comes from my concern that I may lose some of the immediacy of expression if I work on my drawings very much outside of the studio.  But I would like the accomplishnent of a more complete, or perhaps I should say, more technically accurate drawing, which can more easily be done, I think, with a less hurried pose or with a photograph for reference.

Next week I’m bringing a camera to the Wednesday night figure drawing session at Studio b., if the model doesn’t mind me taking a photo.

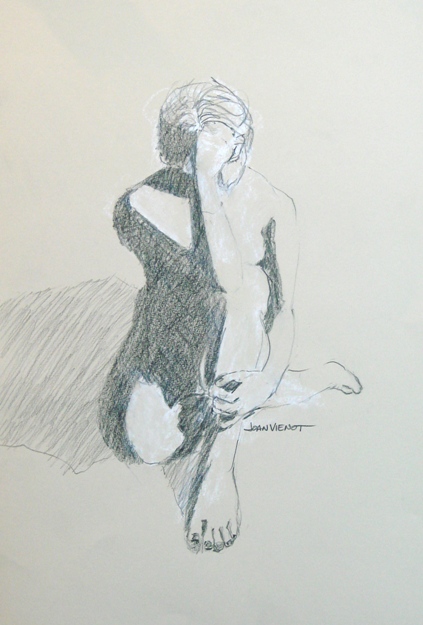
Following are a few warm-up gestures from this week’s session, followed by a drawing from a longer pose.

Posted on Leave a comment

Figure Drawing without the Model

In the last post I showed the drawing above left, which I was unable to finish during the 30-minute pose.  I worked on it a little this evening, to give the hair, arms, and hands some form.   Without seeing the light on the form, I suppose my effort is passable, but the experience was hollow.  It felt like mere craftsmanship as I worked in my studio, without the power and intimacy of a live figure drawing session.

Unless the artist is there to talk about the work, ordinarily the viewer of a piece of art is far removed from the process — all he or she sees is the product.  But for me as the artist, at least 50% of the value of a figure drawing is in the process, in the capture of light and shadow across the living form.  Otherwise, why attend organized sessions and pay a model?  After all, there are countless photographs of people in every conceivable position, if it were just a matter of transposing a form onto the paper.  My joy is in the moment, with the actual lighting, the model, and the creative energy of the group.

All that said, I wish I had a photo so I could have finished the head and arms with more confidence!

Posted on Leave a comment

The Figure’s Weight and Center of Gravity

Contrapposto

This week Heather reviewed what to look for in the model’s pose, how the angles of the hips, knees, and shoulders help indicate the model’s balance and center of gravity.  She pointed out how the knee and hip of the weight-bearing leg will be higher in the picture plane than the knee and hip of the other leg, in ordinary perspective.  And usually the shoulders are contrapposto to the hips.  We had an excellent model for this exercise.

Large Female, Weight on Right Leg

The drawing at the right is an extreme example, with the angle of the hips and knees contrapposto to the angle of the shoulders, helping to indicate the vertical center of gravity on the inside of the weight-bearing left leg.

And at left, the model’s right knee is higher in the picture plane than the left, and her right breast is lower than the left, indicating the weight is on the model’s right leg, with the vertical center of gravity toward her right leg.

Heather Clements is the regular instructor for our figure drawing sessions at Collen Duffley’s Studio b. in Alys Beach, Florida.